galaxy.nvim
Galaxy.nvim is my Neovim configuration that offers a seamless and delightful text editing experience.
Prerequisites #
Before you get started with galaxy.nvim, make sure you have the following prerequisites installed on your system:
- Neovim 0.8+
- Git
- Ripgrep
Installation #
Clone the galaxy.nvim repository and navigate into the directory:
git clone git@github.com:duolok/galaxy-nvim.git
cd galaxy-nvim
Next, choose your preferred installation method:
Fast Installation #
Run the following command for a simpler config:
./install_fast.sh
Complex Installation #
If you want a more customized installation, use the following command:
./install_complex.sh
That’s it! You’re ready to enjoy galaxy.nvim.
Preview #


Features #
Galaxy.nvim comes packed with a wide range of features to enhance your Neovim experience:
-
Session Management: Easily load and switch between sessions.
-
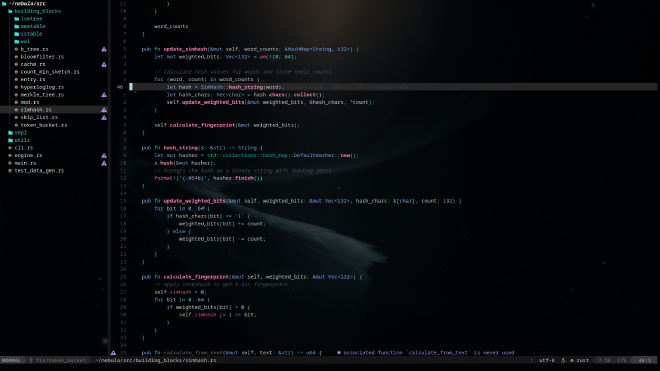
File Explorer: Navigate and manage your project files effortlessly.
-
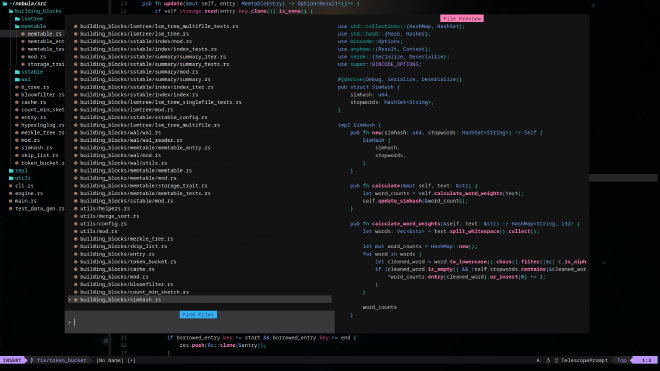
File Searching: Quickly find and search for files within your project.
-
Integrated Terminal: Enjoy an integrated terminal for seamless workflow.
-
Language Server Protocol (LSP): Enhanced language support and code intelligence.
-
Stunning Code Highlighting: Experience beautiful code highlighting and color schemes.
-
Auto-Completion: Boost your productivity with auto-completion.
-
Language-Specific Configurations: Tailor your Neovim setup for different programming languages.
-
Git Integration: Manage your Git repositories directly from Neovim.
-
Git Diff Viewer: Visualize Git diffs within Neovim.
-
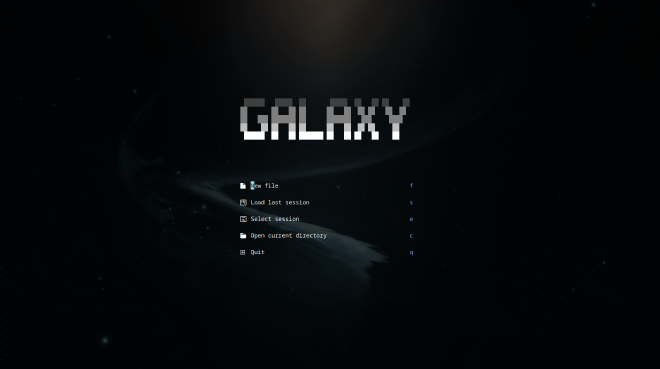
Interactive Starting Screen: Get started with a feature-rich welcome screen.
-
Effortless Window Resizing: Resize windows quickly to fit your needs.
-
Zen Mode: Focus on your work with a distraction-free Zen mode.
Explore these features and customize galaxy.nvim to create the perfect Neovim environment for your workflow.
